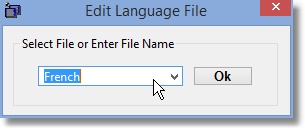
After selecting or entering a language file name, a form will appear with the text for all Gadgets. The original language will be located on the left and the translated language will appear on the right.
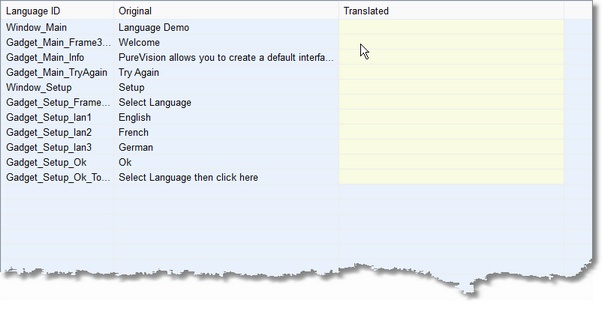
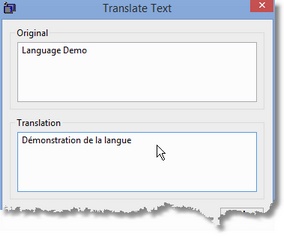
Double left click on the text you wish to translate. You will be prompted to enter the new text.
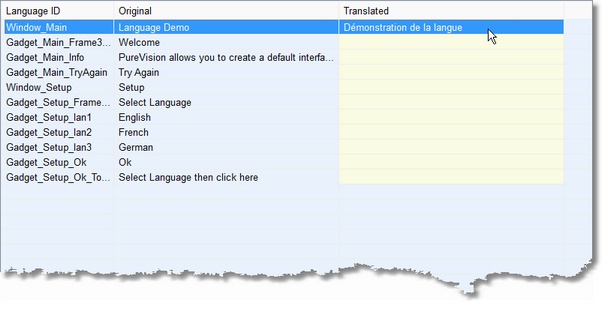
Enter the new translated text and press the Ok button.
Once your list of text has been translated, press the Save button to save all changes.
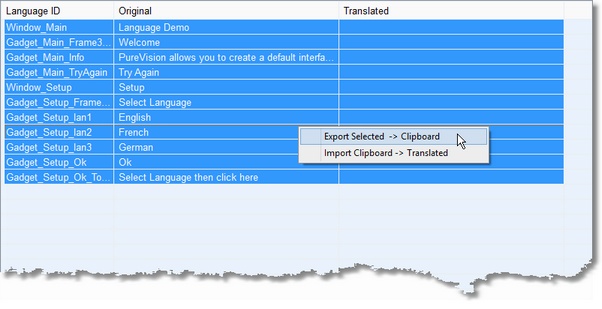
You can also select all the items you wish to translate and then right click to export them to the Clipboard. This will allow you to paste into an online translation service like DeepL Translator and then copy the translated text back to your clipboard.
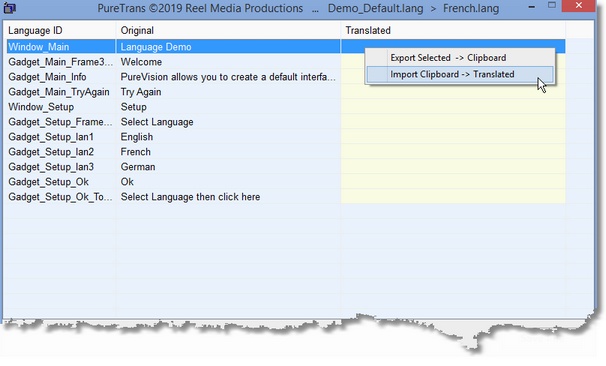
After the translated text is back in your clipboard, you can select where you want to start inserting the text back into PureTrans and then right click to Import the Clipboard.
Note: